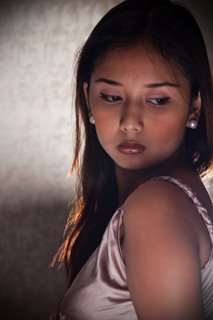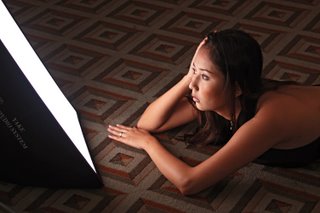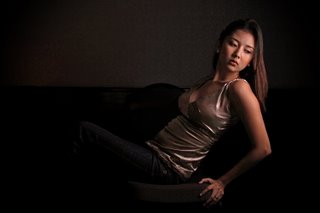
Dark Tone photography is becoming popular nowadays and it is a broader field in photography, inasmuch as it includes low key portraiture and grungy-feel pictures, which has commonly more depth and drama compared to high key photos. With this in mind, I decided to make an experiment on Ria's photos by using Photoshop to convert them into dark toned portraits. Dark tone images create some kind of a wow factor and draws more attention to the viewers to appreciate the photo and study it more closely.

In these dark tone images, the light which was captured in low key evokes more emotions and the photos sometimes talk to their viewers thru various sensibilities they impart. Using the layer mask in Photoshop, create two layers of curve adjustment with the first layer pushing the curve up to lighten the image while the second curve pulling down the curve to darken the image. Then using the brush tool on the second curve adjustment layer set at less than 50% opacity, you can choose those areas or portion of the picture which you would like to recover or restore to its original colors or contrast.

Another alternative method which I usually prefer would be using the gradient fill in the layer mask mode and by doing the same techniques with the brush tool, you can achieve a similar effect.

Many thanks to Ria Villacarillo for posing as a model in this series.
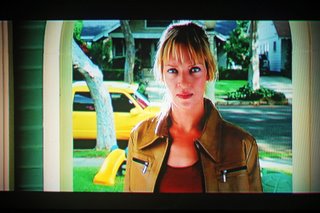 Shooting a television image is quite a tricky task especially if they are from a CRT screen. In the examples shown here, a high resolution flat screen was the medium and the pictures were shot in available light. When shooting a TV image, bear in mind that the picture takes a little time to form completely on the screen so you must try shooting at different shutter speeds until you finally get a clear picture.
 I took these images on a trial and error approach until i discovered that at a shutter speed of 1/60, the images will stabilize without any ghosting and blurring. It is also advisable to use a tripod if shooting an image would entail you to use a shutter speed of less than 1/60. A much more effective apporach would be to freeze the frame if you're viewing a movie played from a DVD Player and from there make your test shots until you come up with a good image. There's no hard and fast rule here so experimention is always an option.
