 Oftentimes, you wonder how you can emulate the richness and vividness of the photos taken on films compared to your dull and lifeless digital photographs. Film pictures radiate more impact. They have more punch and definitely more vivid and richer colors compared to unprocessed digital images taken from a digital camera.
We can fairly get close resemblance of film colors if we process our digital photos in the Lab Color Mode instead of the usual RGB Mode in Photoshop.
First, convert to a different color space (Image > Mode > Lab Color). In Lab Color processing, the colors can be harnessed and controlled much easier because they can be separated based on their lightness in Channel A and Channel B unlike in the RGB Mode where controlling the lightness will also affect either the Red, Green and Blue channels.
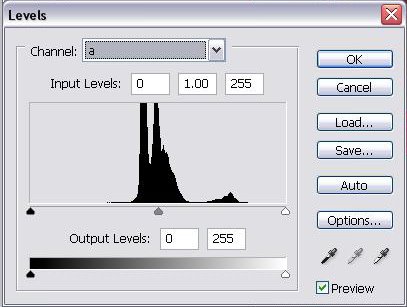 Using a Levels Adjustment Layer, select Channel A and change the values of the Input Levels to (55, 0.90 and 200). Do the same to Channel B using the same values. Don't worry if you'll get a highly saturated image.
Create another layer and this time a Hue/Saturation Adjustment Layer in order to fix the saturation and achieve a fairly natural colors. I prefer fixing the Red color first by sliding it to (-30) value, then the Yellow color by applying a (-20) value, then the Cyan color by sliding it to (-30) value then finally, the Magenta color by substituting it with a (-30) value. The values will of course depend according to your taste and may vary from one photo to another inasmuch as each may have different lightness.
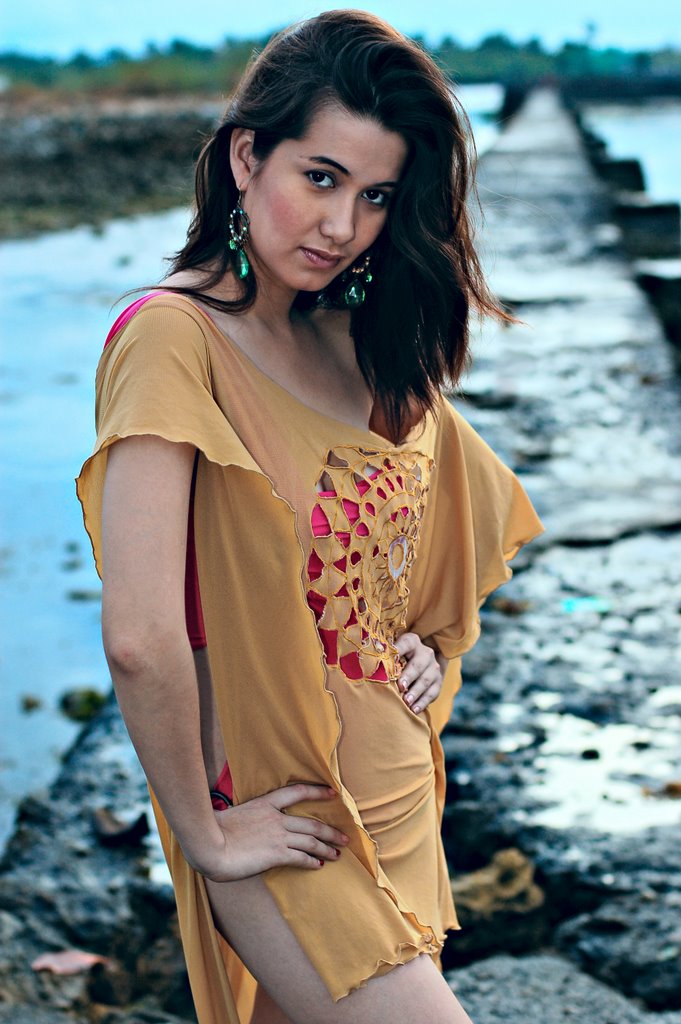 By now, your image should appear like the sample photos I've uploaded. Since you are working on the Lab Color Mode, you can't save your work without going back to the RGB Mode, so go to (Image > Mode > RGB). You can now apply your other post-processing techniques like adding highlights and shadows, sharpening and other fixes you may wish to employ.
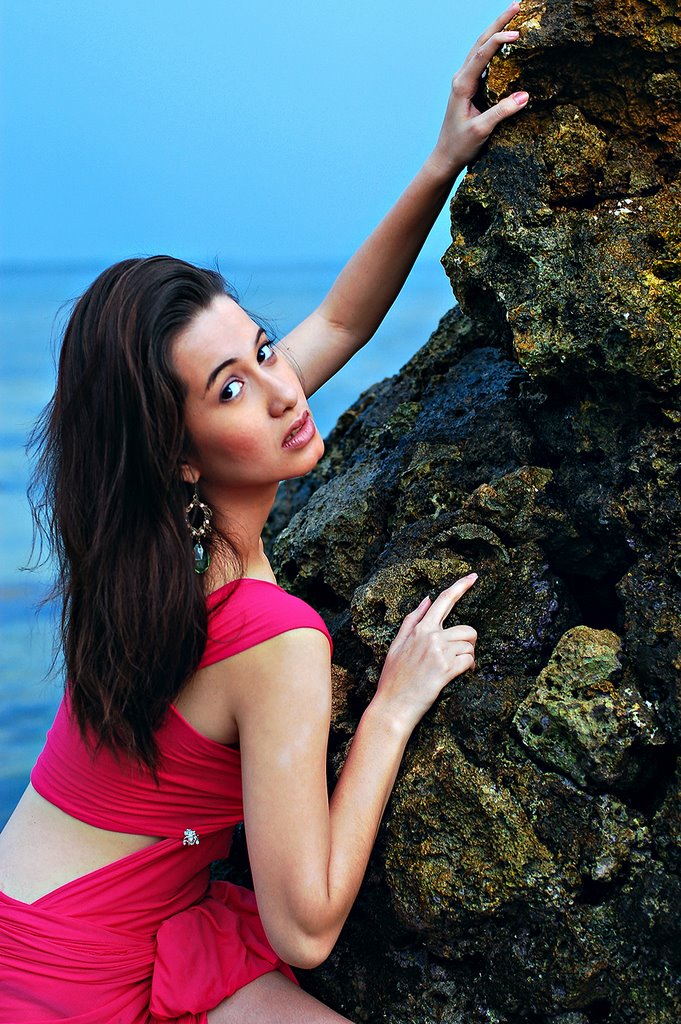
Model: Karla Paula Ginteroy
Fashion Consultant: Dexter Alazas