Sunday, January 15, 2006

Low Key Portrait

In a low key portrait, there is a dominance of a dark background and this requires a more subtle lighting to create a mood and statement. The goal or purpose of the photographer in a low key portraiture is to create images with vitality and luminance despite the lack of brightness or a darker tonal balance of the photo.

In this portrait, I added a deep blue photo filter and a mist filter to create a subtle tone and to draw the eyes of the viewer to study and appreciate the image more.

Tuesday, January 10, 2006

High Key Portrait

High key portrait is fast becoming a popular branch of portraiture nowadays. It is basically a kind of portrait where the subject or the person being photographed is placed on a light or clean background with the sole purpose of drawing the eyes of the viewer to the subject and away from any distracting objects in the background since there is no background object at all in the first place. This isolation of the subject creates a high impact image more especially if they are presented in Black & White.

What I did here is a simulation of high key portraiture using the PhotoShop. I used the extract tool to remove the background, layered it to a white background, converted it to B&W, pushed the curves to create a wash out effect and adjusted the highlights to fine tune. I was about to add a diffuse glow filter but my better judgment prevailed upon me to stop!

Thursday, January 05, 2006

Black & White Conversion Technique in PhotoShop


Converting a digital color photograph into a black and white gives a totally different look into a photo. There are various ways of doing this and based on my experience after trying out several techniques, I discovered an effective method which I will share here.


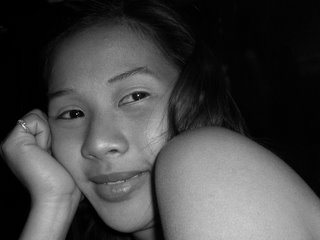
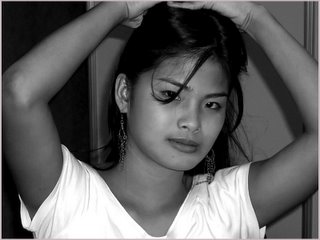
First, using the Curves Adjustment Layer, i tune the contrast of the photo to a desirable sharpness. Then, I desaturate it using the desaturate adjustment layer. Applying the shadow-highlight adjustment layer dropping down all options, i play with all the parameters available to get the desired effect. This technique was the one I applied in the two photos above.


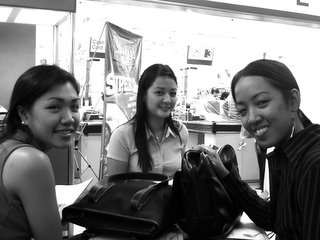
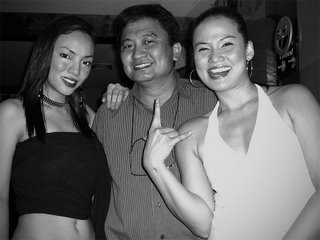
My old method of Black and White conversion is done thru the Channel Mixer. This tool allows the user to control how much each of the three color channels (Red, Green and Blue channel) will contribute to the grayscale brightness of the monochrome version of the photo. The last two photos above were converted into black and white using the channel mixer tool.
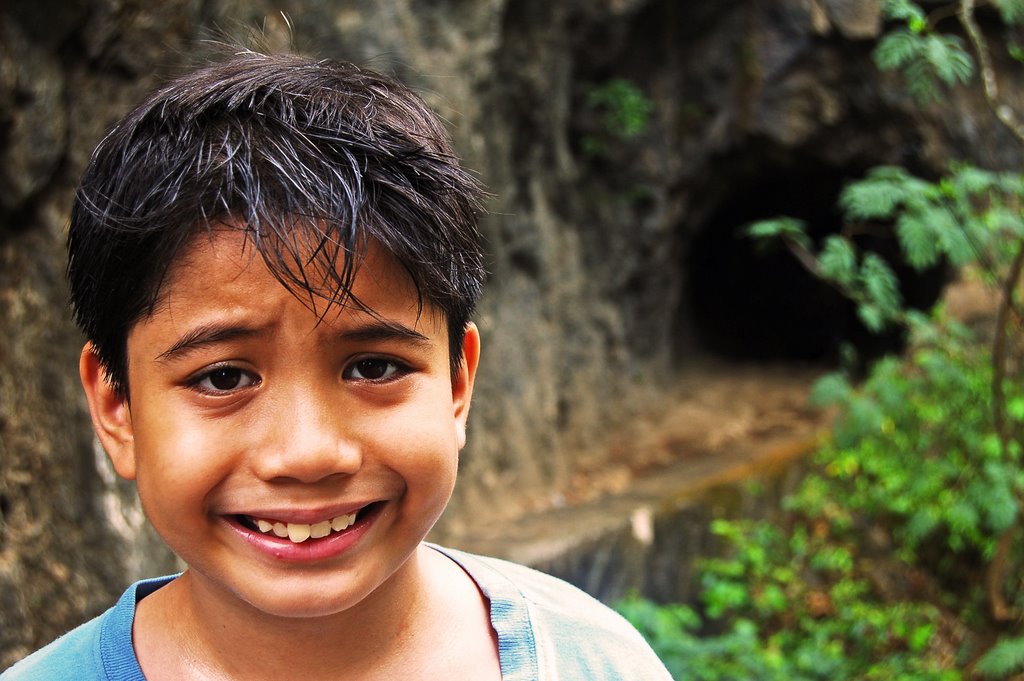
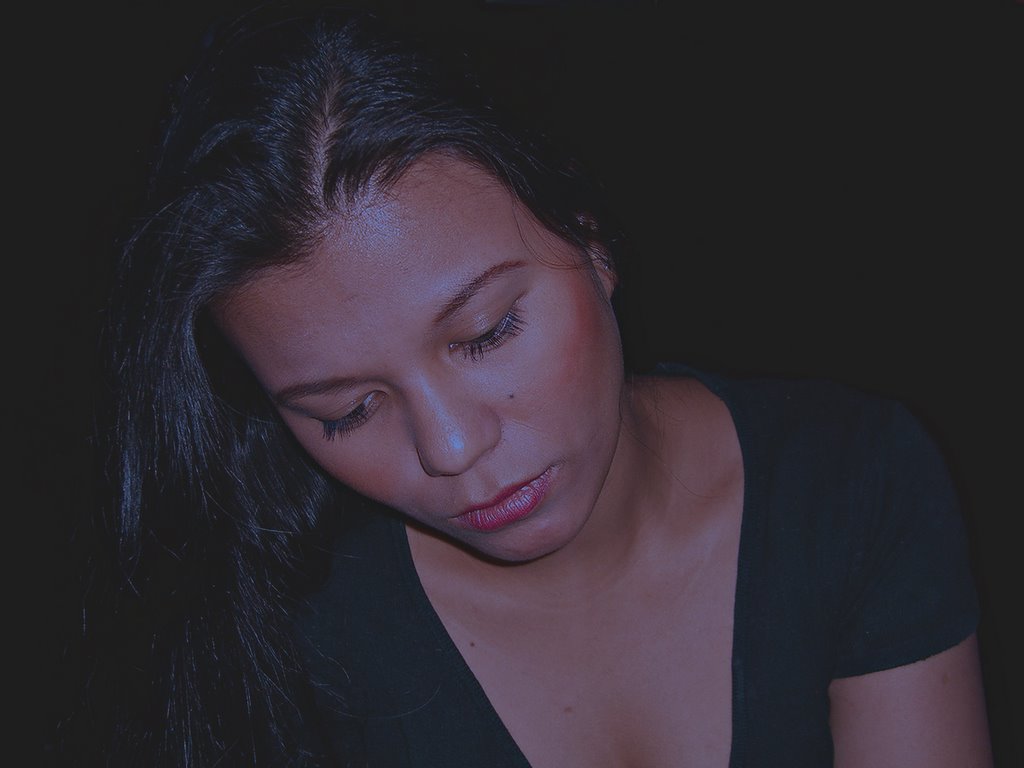
Tuesday, January 03, 2006

Photographing kids

Photo graphing kids is a rather tricky ordeal for a portraitist but they are indeed marvelous subjects. A good way to start with is to stoop down to their level even if it would entail you to crouch or kneel down so that you could be seeing them eye to eye.

Kids are by nature, very unpre dictable coz they move a lot so you should be prepared to shoot in continuous mode to have greater chances of capturing more wonderful moments.

Letting them pose for you requires patience and demanding time and effort so photo graphing them when they're busy or preoccupied with something or while they're at play will bring more successful results and you'll be getting or capturing spontaneous moments or natural facial expressions instead of them thinking about you with the camera which may either result in them being seen with a frozen look or showing off for the shoot.

Shown above is Jovi whose smile slowly faded when it took me quite some time to adjust my camera's settings. The kid in red and blue shirt is Iggy. He seems to be frozen while staring at the camera which is pretty bad but fortunately, i liked the result here. The kid in orange shirt is Mattie. He is showing off while I'm taking the shot.