Also known as the "The Rock", Corregidor is an island fortress built and fortified by the Americans during the

early 20th century when the United States succeeded control of the island from the Spaniards. The island, strategically located on the mouth of the Manila Bay, was the last to fall into the hands of the Japanese Imperial Army during the World War II. After being restored and developed by the Corregidor Foundation, the island is now a memorial of the Pacific War leaving behind ruins of buildings, antiquated big guns, tunnel and tell tales of bravery and heroism of Filipino, American and Japanese soldiers who fought and died for glory during World War II.
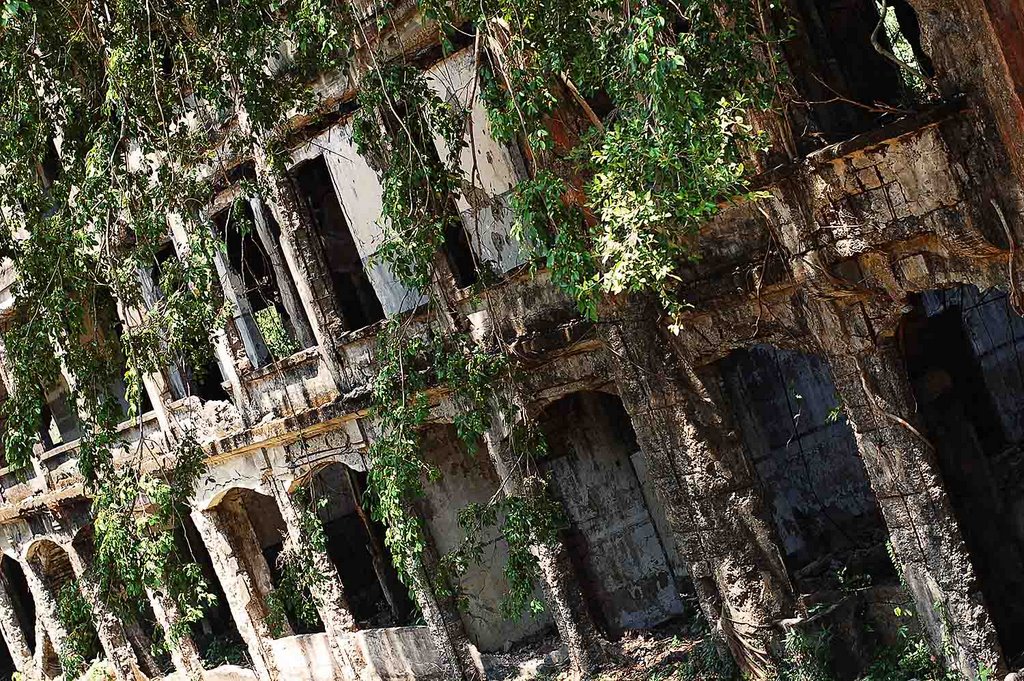
 Middle Side Barracks
, located at the middle sector of the island, these are the ruins of what used to be the barracks of regiments of American and Filipino soldiers who defended the island.
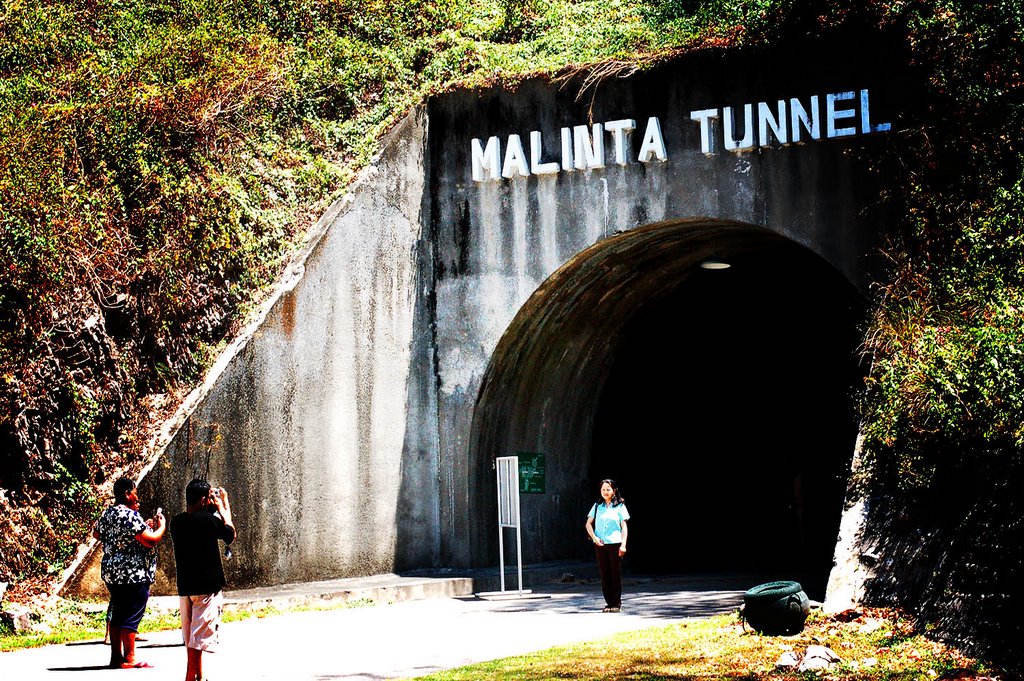
 Malinta Tunnel
, basically used as a bomb shelter offering protection from artillery and air attacks. it also served as a seat of the Philippine Government and headquarters of the USAFFE Defense Command during the World War II.

The photo on the right is bus
replica of a pre-war tram used as a means of conveyance in the island
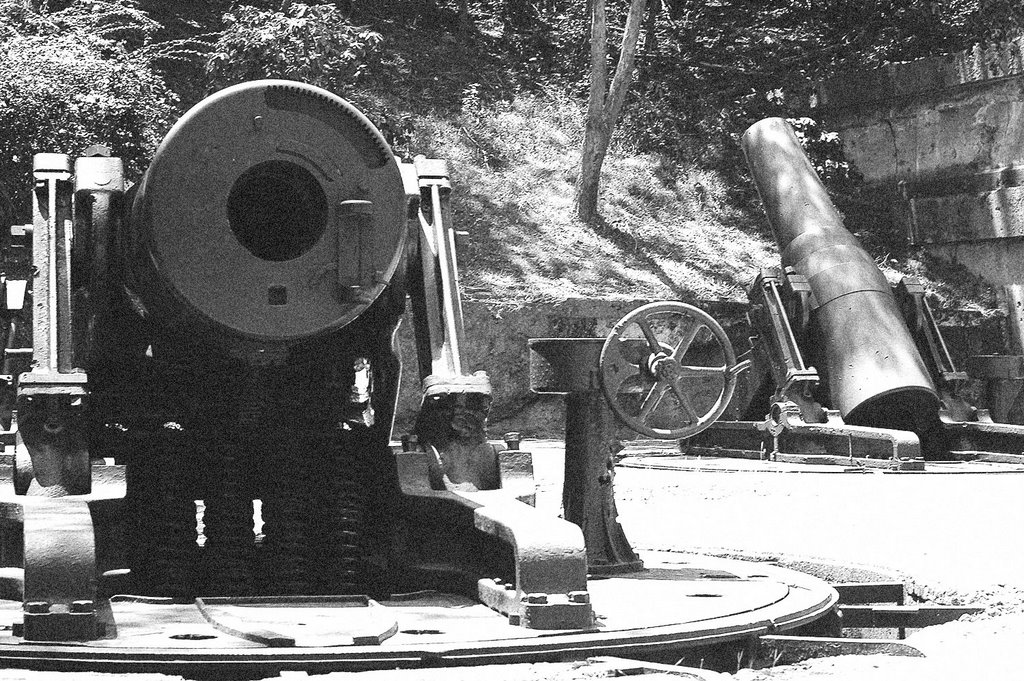
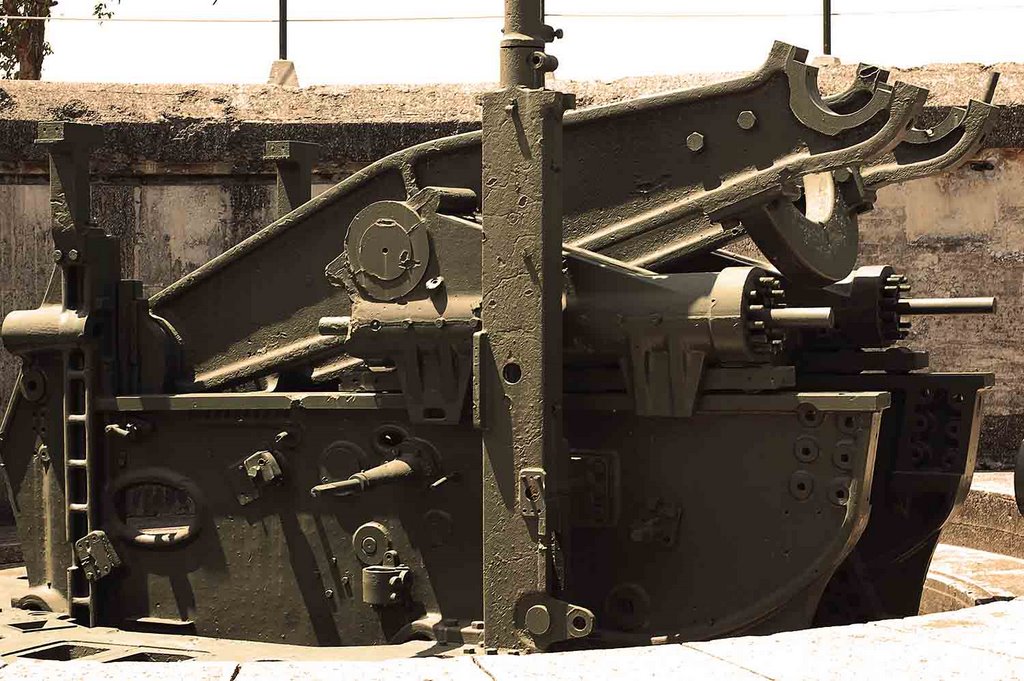
 The Battery Way
 boasts of four heavy mortars capable of lobbing explosive shells in any direction.

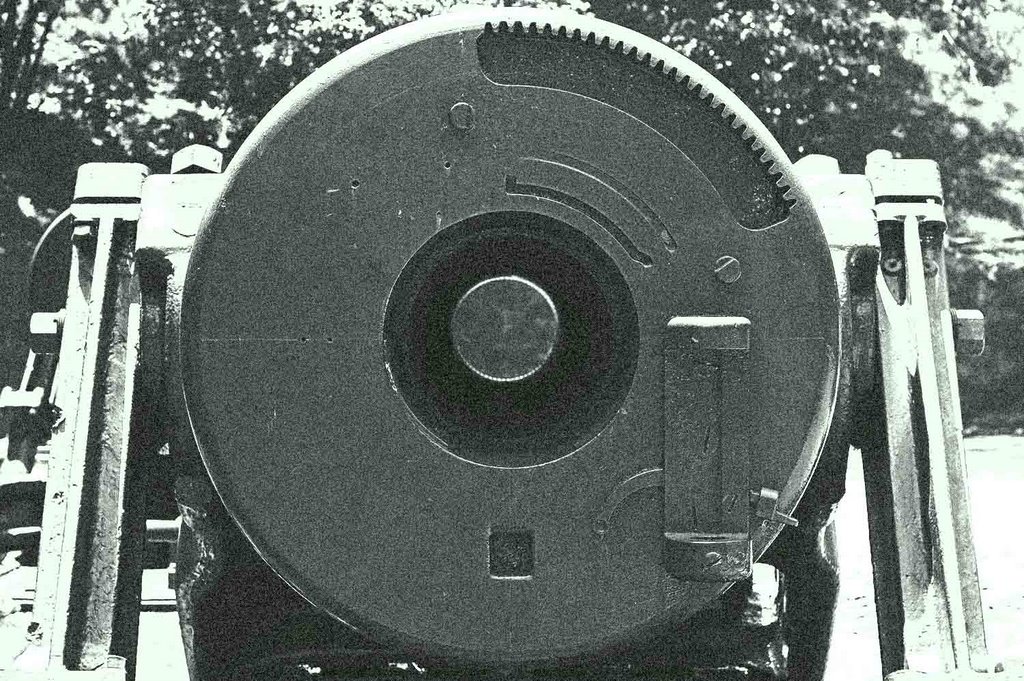
the barrel of one of the four mortar guns at the Battery Way.
converted to B&W and added a film grain
the photo on the left was post processed in PS CS2 to get the desired
Holga effect Battery Hearn
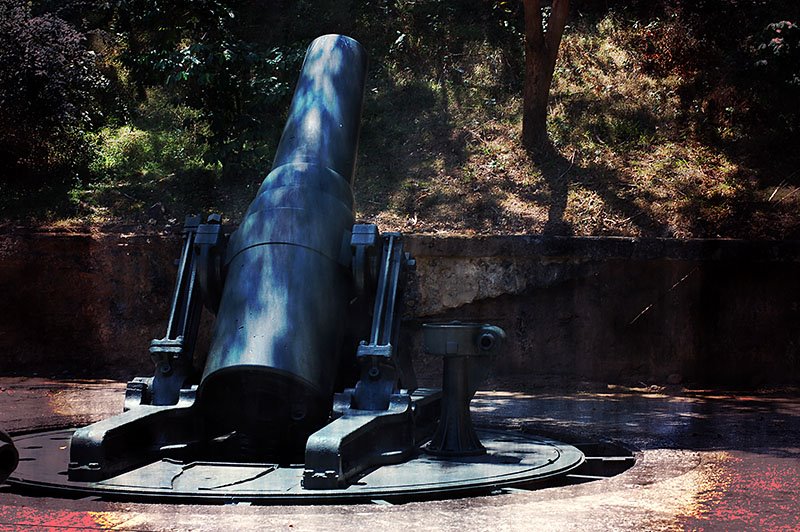
, this gun emplace- ment hosts the most powerful cannon during its time, capable of firing projectiles reaching as far as Bataan and Cavite.
extensively manipulated in photoshop to achieve an old look effect. Battery Grubbs
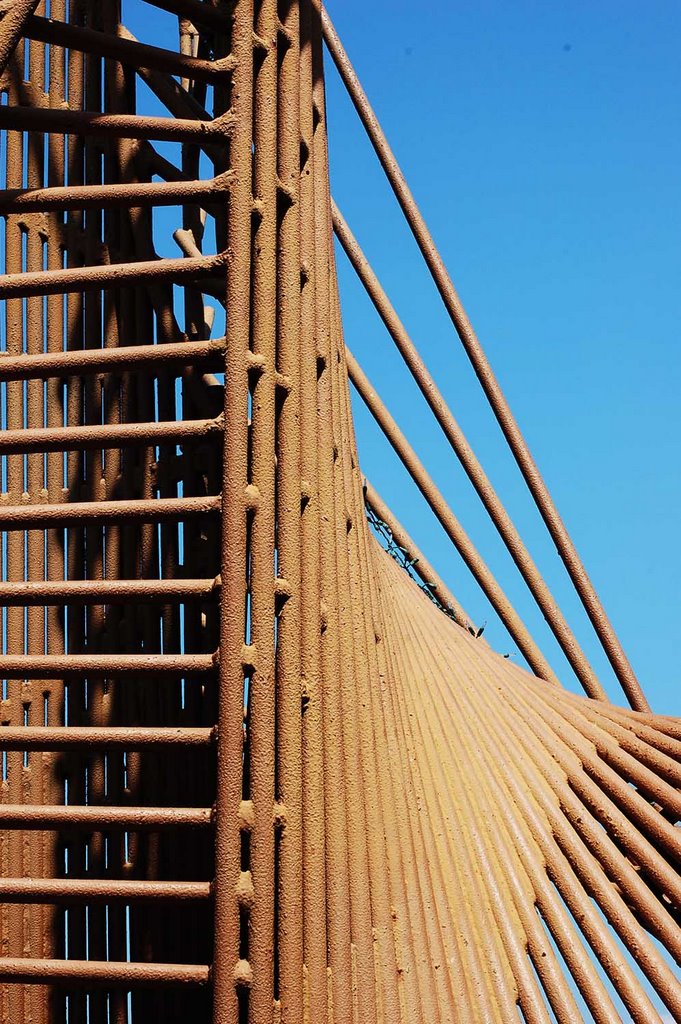
, is located on an elevated part of the island overlooking the sea. it was armed with two guns mounted on disappearing carriages which will rise up vertically when firing projectiles but will retract back to its normal position after usage under the cover of thick walls beyond the sight of enemy ships.

a stairway in Battery Grubbs leading to an open view of the Manila Bay from the northwest side of the island
 Battery Grubbs
 is situated on the west central part of Corregidor and this gun emplace- ment was intended to fire towards the direction of northwest.
 Pacific War Memorial
, a tribute to honor the Filipino and American soldiers who fought in the Pacific War. located at the Top Side of the island.

one of the howitzers stationed on the Parade Ground on the Top Side of the island.
converted to B&W and added a film grain effect
Pacific War Memorial Museum, located at the Memorial is a repository of relics and memorabilia related to the history of Corregidor.
 Eternal Flame of Freedom
, located at the rear end of the Pacific War Memorial atop a platform overlooking the panoramic view of the Manila Bay, the Bataan Peninsula and the coastlineof Cavite. It is a large steel sculpture which symbolizes the Flame of Freedom burning eternally. The sculpture commemorates the sacrifices, hopes and aspirations, and the heroic struggle by the Philippines and the United States to preserve freedom for future generations.
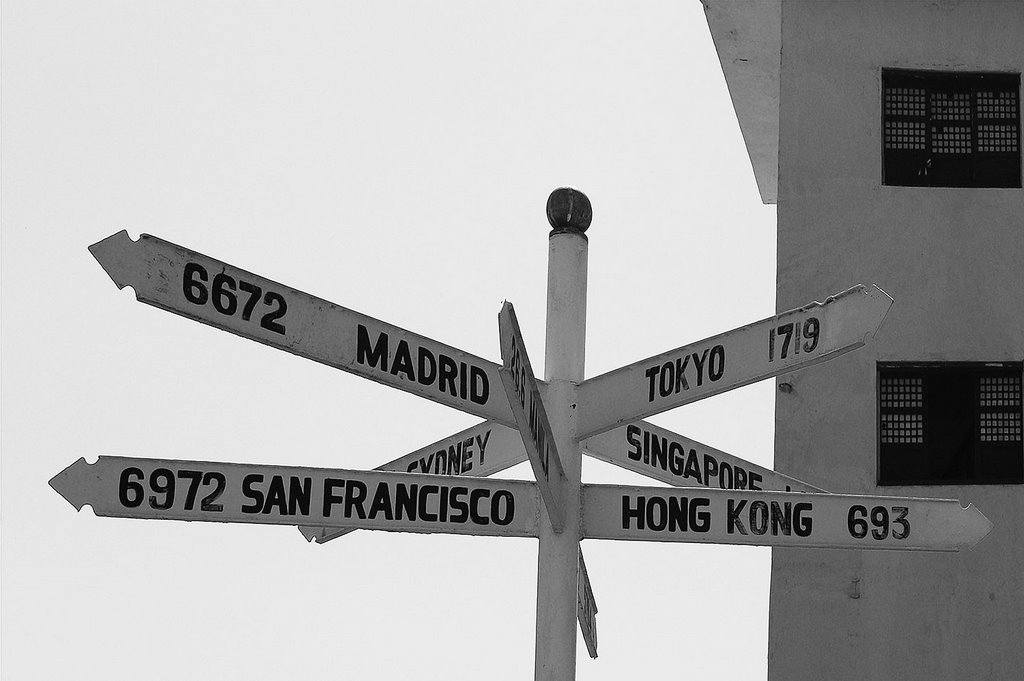
 Spanish Lighthouse
, located at the highest point of the island on the Top Side. The second lighthouse constructed by the Americans to replace the original Spanish lighthouse was destroyed during the Pacific War. This post war lighthouse was built on the same site where the original Spanish lighthouse was erected. If you're on top of the lighthouse, a breath-taking view of Corregidor, Manila Bay, the South China Sea, and the neighboring provinces of Bataan and Cavite, awaits you.

a pole sign within the lighthouse compound showing the relative direction and distance of some key cities.

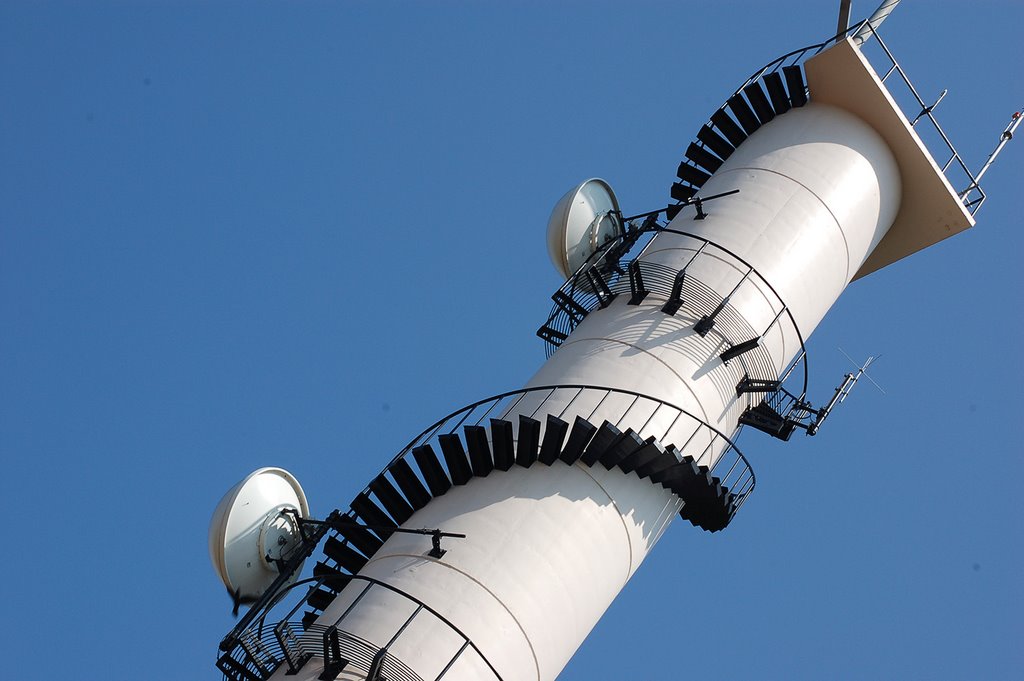
communication tower beside the lighthouse
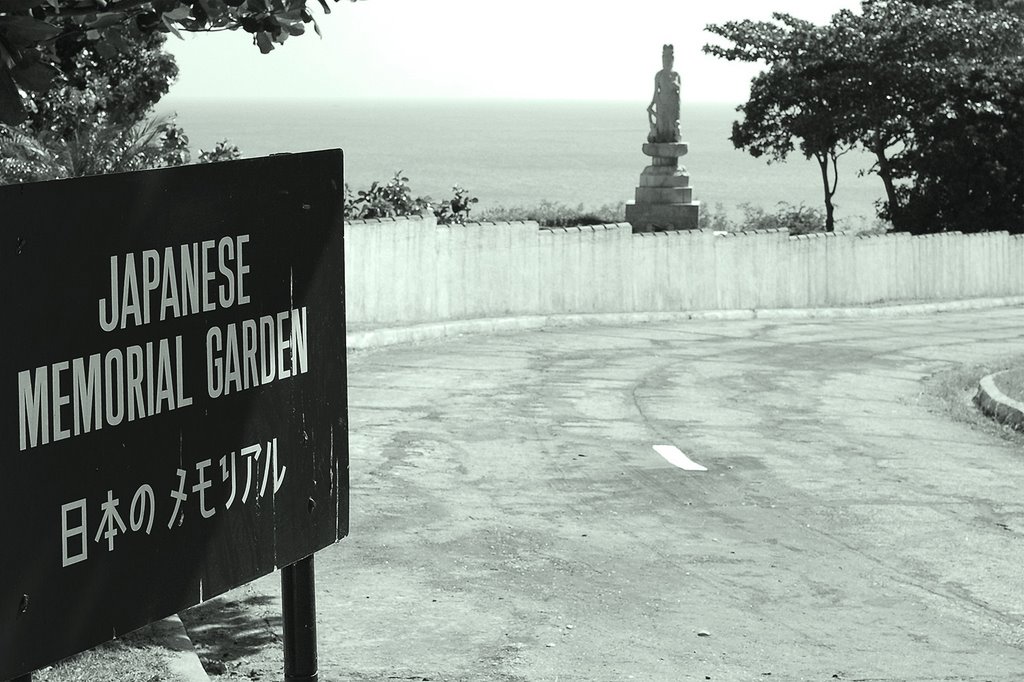
 Japanese Memorial Garden
, located at the tail end of the island, this garden hosts several memorial shrines and markers. The construction of this garden was partly funded by some Japan based private groups.

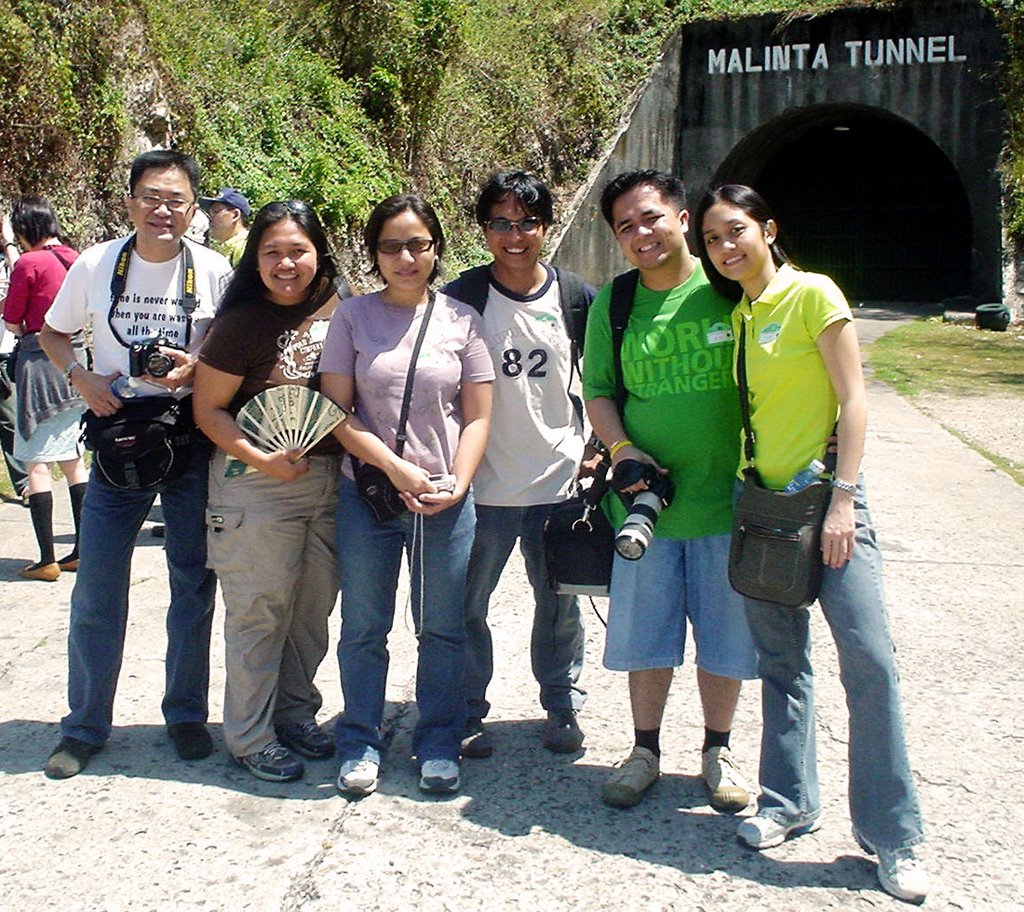
our group shot in front of Malinta Tunnel
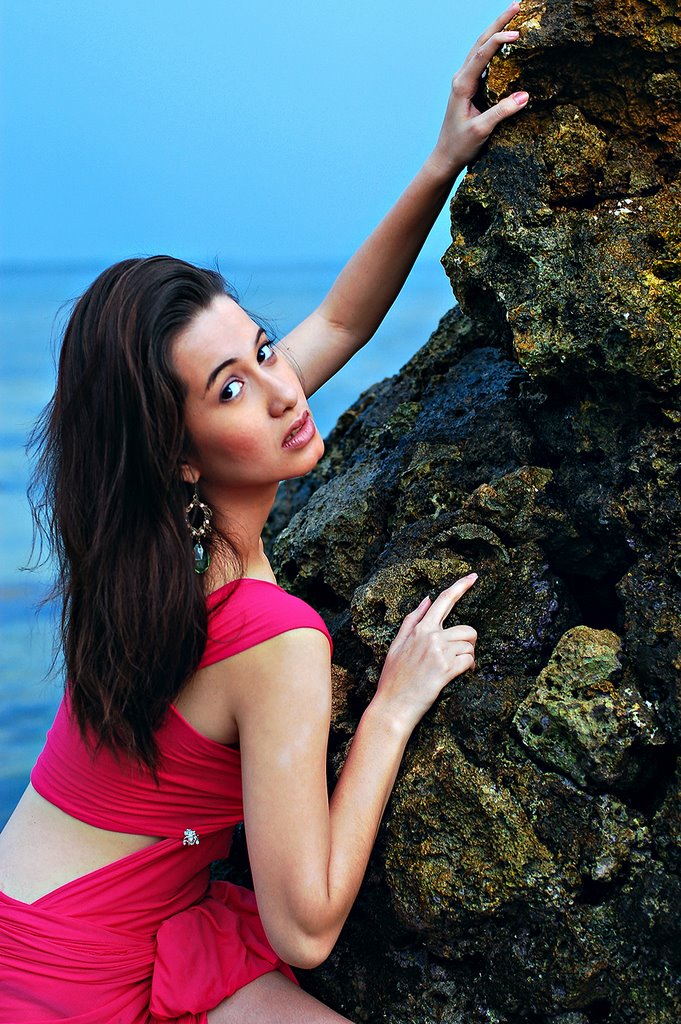
 Oftentimes, you wonder how you can emulate the richness and vividness of the photos taken on films compared to your dull and lifeless digital photographs. Film pictures radiate more impact. They have more punch and definitely more vivid and richer colors compared to unprocessed digital images taken from a digital camera.
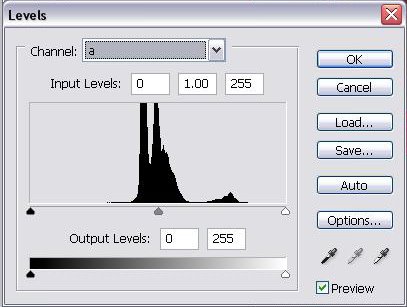 Using a Levels Adjustment Layer, select Channel A and change the values of the Input Levels to (55, 0.90 and 200). Do the same to Channel B using the same values. Don't worry if you'll get a highly saturated image.
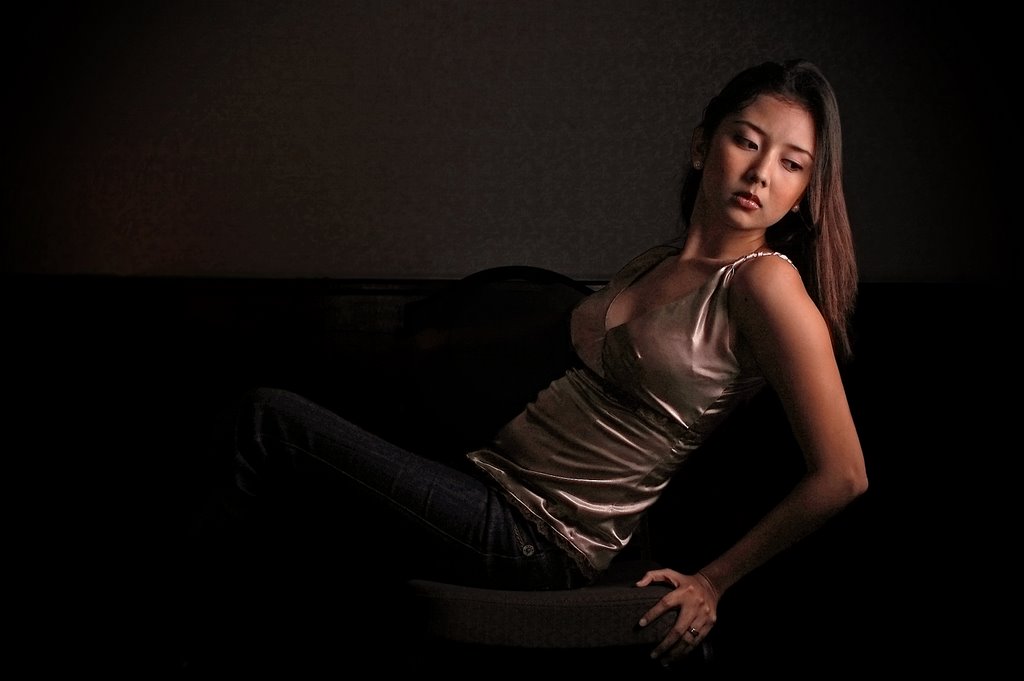
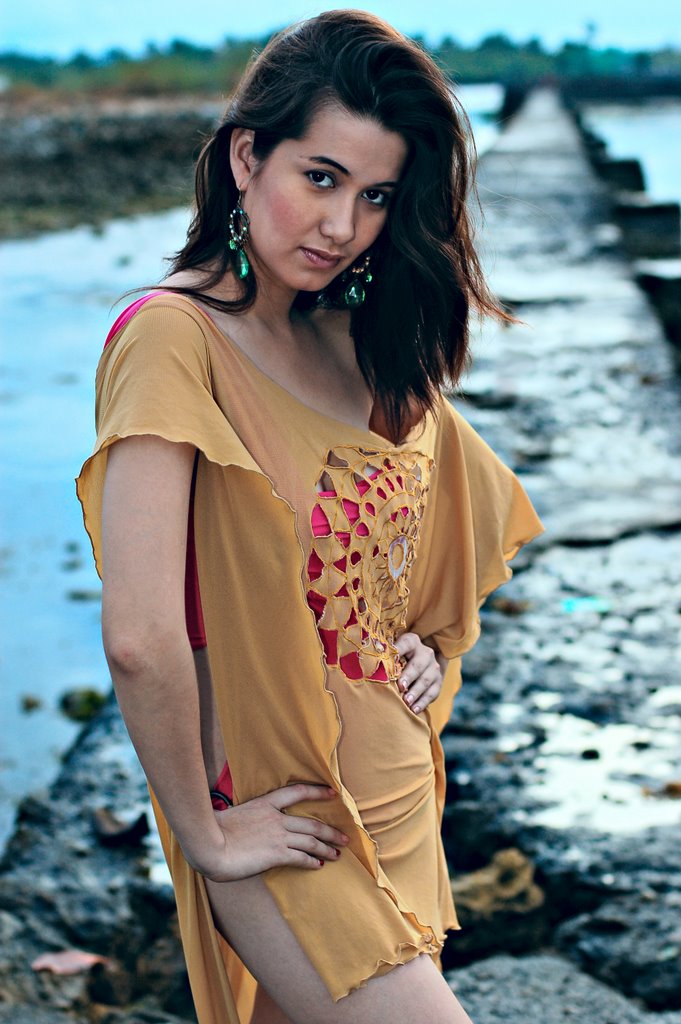 By now, your image should appear like the sample photos I've uploaded. Since you are working on the Lab Color Mode, you can't save your work without going back to the RGB Mode, so go to (Image > Mode > RGB). You can now apply your other post-processing techniques like adding highlights and shadows, sharpening and other fixes you may wish to employ.